I left a little more meat on the rear wheel, there was a substantial weight savings over stock and I think they look pretty rad to boot. A little closer look at the rear wheel. I should be ordering my tires and some other parts for this build soon. This one is my next bike, and I'm stoked to be able to finally work on it some.
I'm gonna do some testing, if you look at the below thread, I now have a HUGE breaker bar I can put some torque on to see if these will snap or not. Stay tuned folks.
My best friend Seth and his old man Tony came down to the shop this week to hang out and work on their 1996 883 Sportster. I say "their" sportster, but this is really Tony's bike. Hes something like 107 years old, so I get a feeling that Seth will end up riding it more than him... Sounds like a challenge to Tony if you ask me!
This bike had a nice stance already, they had built their own struts, chopped the fender, dropped the fork (it has about 1.5" of travel at best) and built their own drag bars along with some pipes they fabbed up. Speedo was relocated, and it got a repaint along with a new seat and a custom front fork brace. It looked pretty good as is really, but if you've ever ridden a strutted sporty, you know that it is the most punishing ride you will ever have. I rode this bike about 100 miles or so in my time, and it literally felt like my heart wanted to jump out of my chest. Im telling you, this bike was BRUTAL to ride. Give me a hardtail anyday! Tony and Seth agreed. Here is a few more "Before" pics.
So we ordered up some parts. Led Sled Tail section, Fabricator Kevin seat hinge, West Eagle seat and some really sweet handlebars and risers along with a Hydraulic Clutch Conversion from Magura.
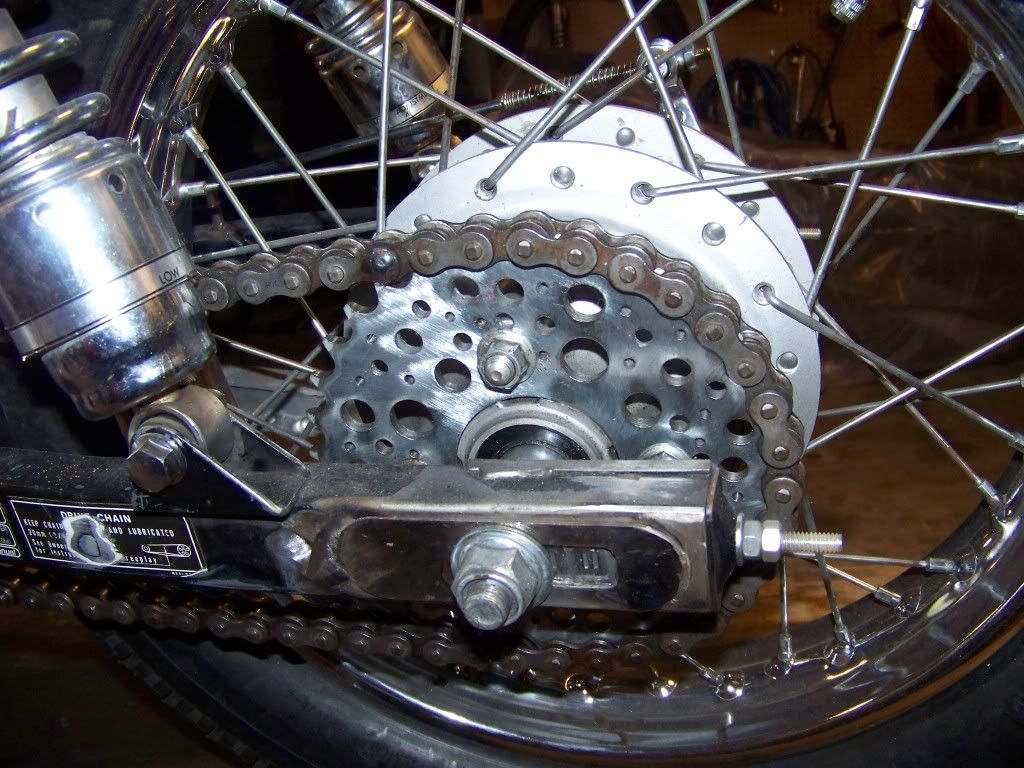
One of the first obstacles was the chain conversion kit. We tried 2 impact guns, a 1/2" breaker bar broke, and nothing seemed like it was going to work. So we bought this bad daddy!
This mean mofo was rated for 1,000 ft lbs of torque! Surely it would work, It was about 4 feet long!
We blocked up the rear disc and sprocket (weren't keeping them anyhow) with my broken 1/2" breaker bar up against the struts. Take a look at the flex in that bar. It was hard to take a good picture and protect my crotch region at the same time. The belt was creaking and groaning, and the breaker bar we had braced in the back was looking like a pretzel. This thing was going nowhere fast.
We finally added a cheater bar to the already super long and almighty breaker bar. 1/4" walled 2" square tubing about 7 feet longer seemed to do the trick. And to think, they have 2 tiny bolts and a safety locking tab holding that stupid nut on there in case it comes loose. Yeah right!
At this point, we took a nice long break for lunch. More details to come. PS, we have a "slightly" stretched sportster belt drive for sale if interested! Haha.
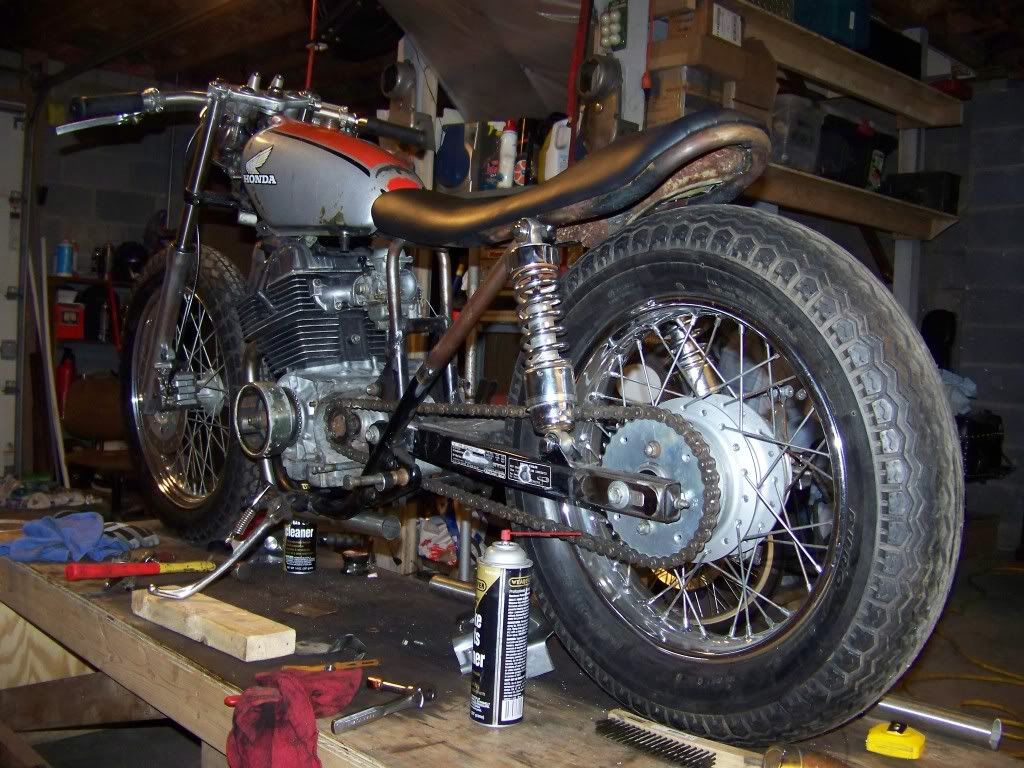
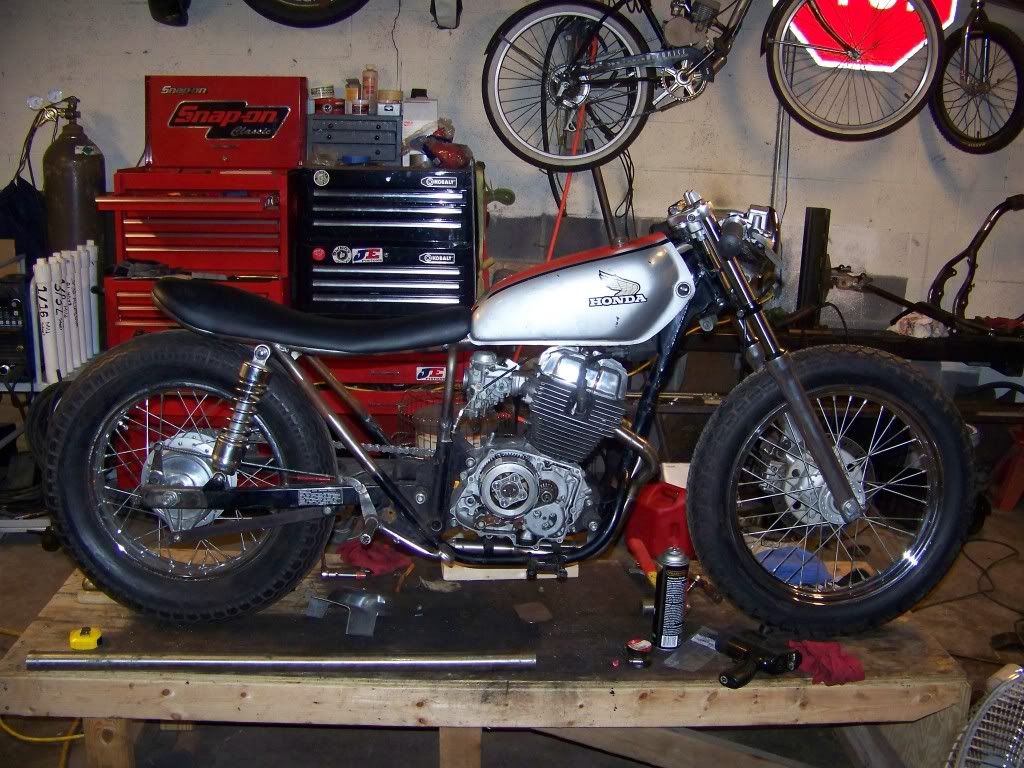
So I haven't put up any pics anywhere of my next build. Its in the "pile of parts" stage, though the tubing for the frame is on order, and the engine cases and all other alloy parts are all bead blasted. I've got a set of axle plates coming from XS650.com (support the site, buy some!) and the Frame jig is just waiting for something to happen.
For me, the parts gathering stage is fun, but the best part comes from modding the parts and making them into something new. My friend Tom over at Deep Six Cycles was cool enough to take part in my impending doom so I headed over to his shop and got to work.
They aren't done just yet, but you get the idea... Stay tuned for more to come on this build, as it transforms from a pile of tubing and some bolts to a complete new build. The goal is to have this new bike built in the next 2 months for the Big Mountain Run!
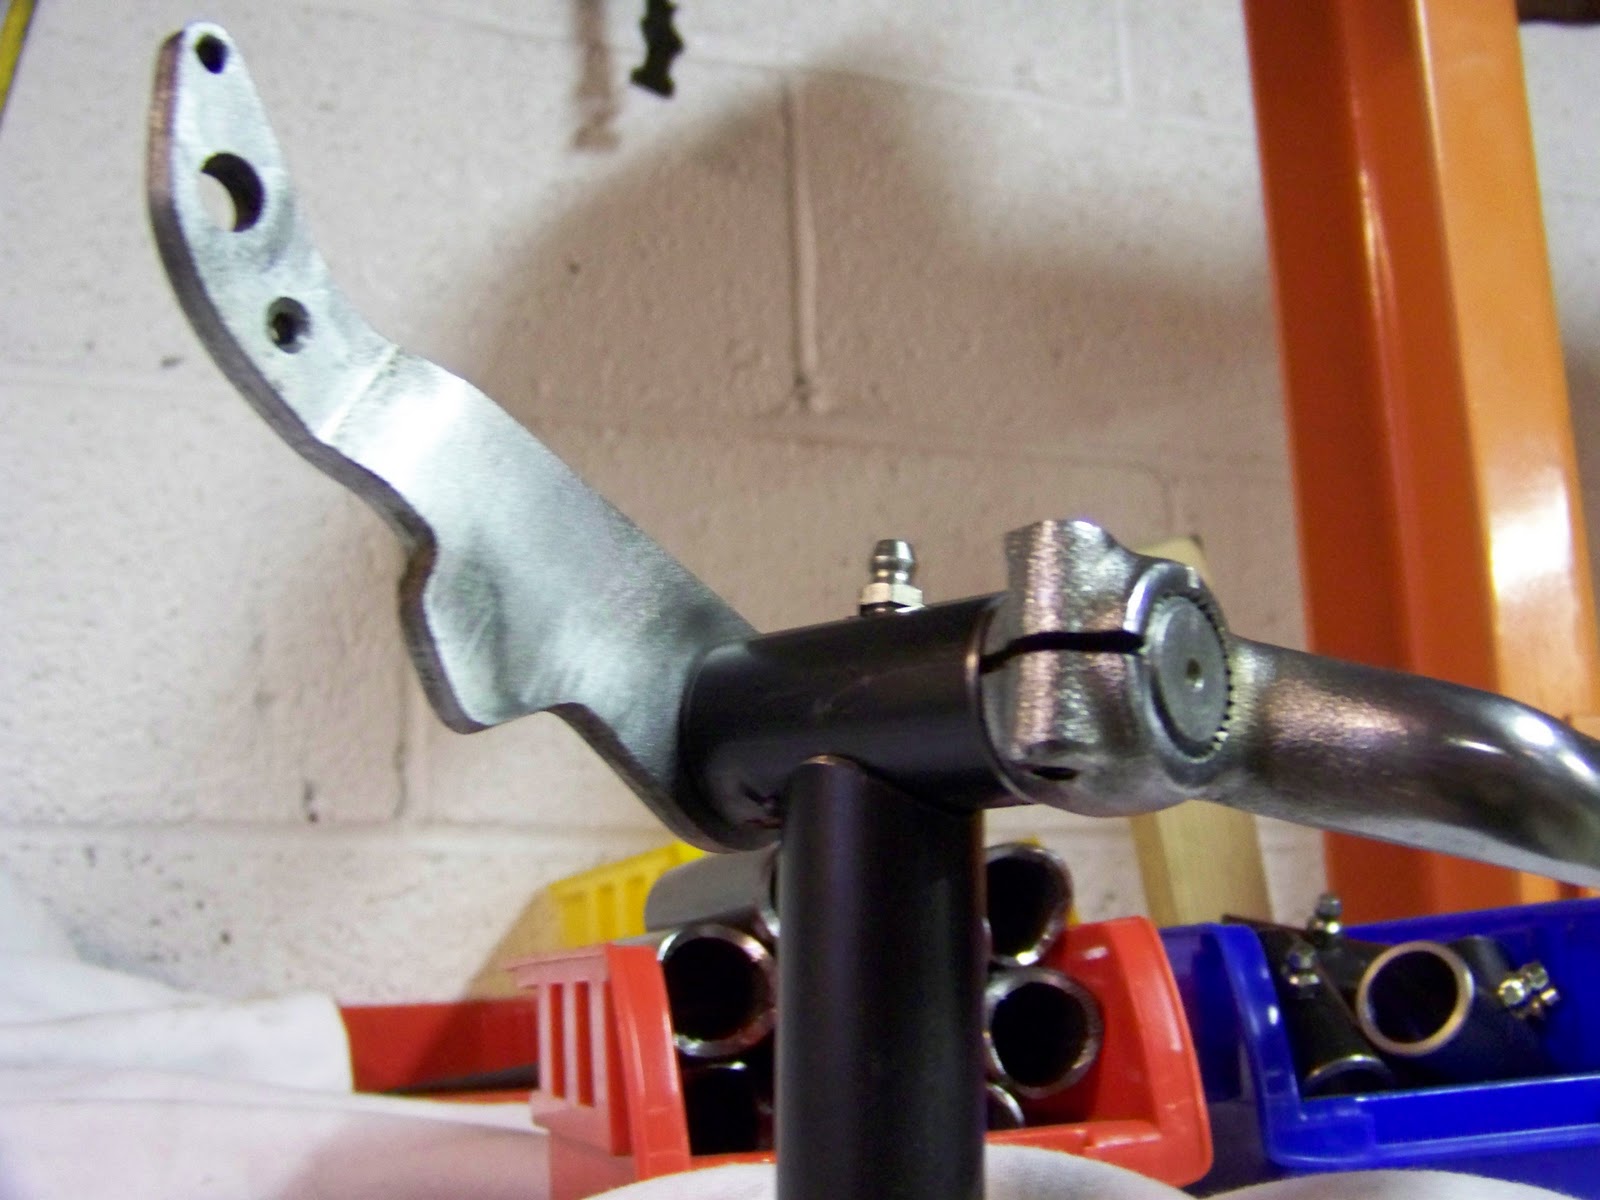
I've got a friend named Bill. Bill is the kind of guy that gets the craziest ideas in his head and will send you an email at 3:00AM asking about possibilities and techniques to create his crazy ideas... I like Bill. Bill is also the kind of guy you want to Bench Race with, even if over the phone and he is several states away. One day I got a package from Bill, and inside was several stators, flywheels and a set of triple trees from an XS650 and a set of Triple Trees from an XR250. He also sent me a few camshafts to rephase, just as a gift. I like Bill...
Well, the latest crazy Idea from Bill was to put a set of Honda XR250 Forks on an XS650 he is building. To keep it simple, he wanted to reuse the tapered steering bearings and stock frame headtube from the XS650. Armed with a set of calipers and a telephone, he was certain it would work, so he called me up, gave me some numbers, and the next thing you know, I'm machining down an XS650 Steering stem to be pressed into an XR250 Lower Tree. To make the upper tree work, it looked like I would need a .039" spacer to fit between the stem and the Upper tree, so I made one of those up real quick as well. This is the kind of stuff I like doing, so if any of you other folks have crazy ideas you want to see happen, wait until about 3:00AM and send me an email. I'm hoping Bill gets us some pics of this build soon.
Bill, good luck with the build, and shoot me some pics once you get the front end mocked up...
Worked a little on the Twin Cam here in the shop today. The place is a mess, I don't care, I was in the groove today!
Modded a stock style sportster tank. Removed the stock mounting brackets, added blind hole bungs to the bottom of the tank, and used these style mounts to attach it to the frame.
Used a few bungs from LowBrow, and some of my own. I needed a smaller bung for the rearmost mount of the tank, so I sp
You can find these sweet brackets from the good folks over at LowBrow Customs
I cut those down to length, weld them to the frame where needed, and mounted up the tank. Basically, 4 of the above tabs are welded to the frame, and the tank will sit right on top of them. Stupid simple design, and a very clean view from the top of the bike. Sorry, I somehow missed the pics, but you folks are creative, so just imagine what it looks like...
It was a long night in the shop, but a good one. Hoping to get this thing fully mocked up with pipes, starter, battery, etc.. in the next few weeks. Stay tuned....
Wanna delete that starter on your XS650? I would, and usually do. While building an engine for an XS650.com member, I was turned onto the idea of using a 1 53/64" freeze plug instead of the $15.00 MikesXS kit. There is talk of needing to sand down the edges of the plug some, but I had no such issues.
I drove the freeze plug in with a large socket and an extension... I drove it in from the inside of the cases. If you wanna really do the job right, pull all the gears and shafts out of the cases while you are at it... Remember, less weight = free performance. This mod costs about $1...
Alright gang, you already know you need to swap over to the Permanent Magnet Alternator on your XS650. Want more information on why? Click here....
I've had alot of request to assemble complete kits, to avoid confusion of buying wrong parts and paying shipping on 3-4 items. This is a Major Bonus to my overseas customers who are having a hard time finding all the small parts for the swap. Plus, it is all new AND better than used stock stuff. Higher output and better built. Now offering the COMPLETE swap kit.
Kit will include:
NEW High Output Stator - "Output is about 20% more than the an original Ninja 600 stator provides. This new stator is built with the highest grade lamination materials and the copper windings are triple insulated for maximum reliability. To ease installation we supply it with new connectors and wire sleeving."
NEW Flywheel - Full encased magnets provide a lifetime of trouble free operation. This Flywheel has stronget magnets than a stock Banshee Flywheel and will provide a higher output in low RPM operation
NEW Stator Mouting Plate - Machined and ready to bolt in, no need to modify a used one (if you can find one of course)
NEW 3 Phase Regulator - 3 Wires in, 2 out (Battery + and -) Super simple wiring, will mount in the stock location as well.
NEW PMA Swap Kit - Same Kit I've been selling all along. Hardware included
NO MORE WAIT! I now keep these complete kits in stock, and they typically ship within 1-2 days after your purchase - Thanks for all your support.
1979 Sporty. S&S Shorty Carb, Electronic Ignition, Newer Generator/regulator, XLH Engine, P Cams, Chrome Oil bag, forward controls, Newer Primary Chain, Polished Engine Covers and Rocker Boxes, Unknown Hardtailed frame, 6" over forks. Some random parts also go with it (pipes, some brake parts, sprocket cover, etc...)
Will come with a Mag Rear wheel instead of the Spoked wheel shown, no fuel tank, and different Handlebars (Have T-Bars that go with it.) Owner has lost interest, looking to get $1200 as is OBO. Bill of Sale Only Willing to trade for a newer sportster (stock is fine, 883 is fine) and can add cash if needed. Any other bike trades also considered. Come get it!
SOLD SOLD SOLD SOLD SOLD SOLD SOLD SOLD SOLD SOLD SOLD!!!!!
My good friend Tom over at Deep Six Cycles has been making some very nice Brass Pegs and just now started to do Brass Grips to match. When someone can walk up to LowBrow Customs table at Smokeout, pull some pegs out of his backpack, and LowBrow asks to show them off with their other wares, you know its good!
Custom made Hand Grips and Pegs, all made in the USA of US Made Materials! Polished to the hilt like no other pegs on the market. Tom has developed a whole new method of mating the peg adapters to the brass for a fit like no other! Normally he makes these for Harleys and Harley style peg mounts. But after some talking, Tom and I are going to team up to make his Brass fit the Stock XS650 peg mounts. Keep your eyes peeled for prototypes in the next week or so, and if you are interested in having a set for your XS650, post up and let us know.
Until now, I don't know of any other folks making pegs for the XS650 crowd, and everyone knows just how ugly those stock pegs are! Normally you won't see me trying to pimp other peoples work unless I have 100% faith in the quality and fit/finish. These meet my expectations and more. Tom also makes some sweet handlebars for your Chopper/Bobber/Brat. Check him out! And remember, if you are interested in XS650 Brass, post up so we can get an idea of how many people want the Kick Ass Brass for their ride.
Today I had a chance to finish a Batch of the DIY Rear Brake Pivots. I've been using these on several of the builds that I have been a part of, but never offered them to the public, until now....
Machined from 1018 Steel, these Rear Brake mounts are a perfect fit for your stock Brake Lever and Pivot. The Machined Shell includes a Grease fitting, to keep your rear brake operating smoothly. None of the aftermarket Weld On Tail sections offer a brake mount, leaving it up to the owner or fab shop to come up with something that works. Now you can use these to simplify your build, and keep it clean. Only $23.50
Install is simple, find where you want to locate your brake lever on your frame, trim the supplied section of pre-notched tubing to the height you desire, notch the opposite end to fit the frame (if needed), and weld it all up.
Here is a few mock-up pictures of the assembly.
Don't want to keep the stock brake lever? Using Forward Controls?? This will still work great to actuate the rear break, just keep your stock pivot and all the hardware that attaches it to the rear drum, weld the pivot to your desired location and cut down the stock brake lever to attach to your forwards. On the cut down brake lever, you will drill a hole to attach the brake rods from the forward controls. (usually supplied with your Forwards)
You will receive 1 Machined Pivot, 1 Pre-Notched Mounting Tube, and 1 Grease Fitting. Everything else shown is for reference only.
Hopefully this will make some of your builds a little bit simpler.
As always, you can email me at Hugh's HandBuilt if you have any questions, and you can purchase these right off of the website store
So by now, if you haven't figured it out, I'm a bit of a gearhead. I like making things, and I really like making things go faster than expected.
A few years ago, I bought my then girlfriend (now my lovely wife) a 1997 Honda Rebel. It was a bit beat down, had some rust and the paint was bad, but hey, at least the tank was dented too!
It was a suprise gift, she had been Snow Boarding in Colorada with my best friend ( I don't tumble around in the wet, cold snow...) and I had found this bike through a Co-Worker. $600.00 later, some new tires and a battery, and it was running and ready to rock... I had it all cleaned up and ready for when she came home from her trip. I think she liked it...
She signed up for the Rider's Safety Course at a local Community College with a girlfriend of hers, did a little test riding in our neighborhood, and she was learning to ride in no time. I HIGHLY recommend the safety course, I learned a few things that I still apply to my riding style, even though I had been riding for a while when I took it.
That next summer, we all decided to ride to the Outer Banks of NC, and camp for a long weekend, do some riding and take it easy. She rode that little bike all the way there without any worries. There was a small incident with a bag of ice in a saddle bag, and an attempt to launch over some dunes, but all in all, it was a great trip with great friends. I can't recall exactly how many of us went, but we were quite the sight.
That was a trip to remember, we were told to evacuate the islands due to a Tropical Storm (some left, we stayed) and I asked Courtney to Marry me there at the Outer Banks. We camped, carried all our gear, and lived on those bikes for those 5 days and had a blast.
By the time we got back to the Mountains, Courtney was riding her Motorcycle 60 miles a day or more going to work, doing rides with our friends, and really loving it. She had ridden to the Outer Banks once more with a girlfriend, ridden some of the twistiest roads in NC and had really put some miles that that little 250.
All good things come to an end though, that little bike had been beat, wrecked a few times (once on the 321 the Snake, stuffing it under a guardrail) and been the bike for a few friends to learn on. It all came to an end when I decided (without her permission I might add) to let my friend Jim learn to ride. I gave him all the ins and outs of the operation of the bike, and he revved the throttle, dumped the clutch and went full speed into the side of a Ford Escort in our parking lot. Jim lost a thumbnail, but the Rebel had bent forks, bent handlebars, a busted headlight, tweaked controls and a bent frame. Upon further inspection, the engine mounts had cracked as well, making a leaky mess when ridden.
We got it "Ridable" and it led a miserable oily and beaten life for a while, and she generally lost interest. She was no longer proud of that little Rebel, and it looked like it belonged in a salvage yard (It probably did). So it was beat on and jumped and used as a dirtbike for a while until the clutch died. Somehow, we still felt like we should keep the bike alive, so an entire rebuild started with the need for a clutch...
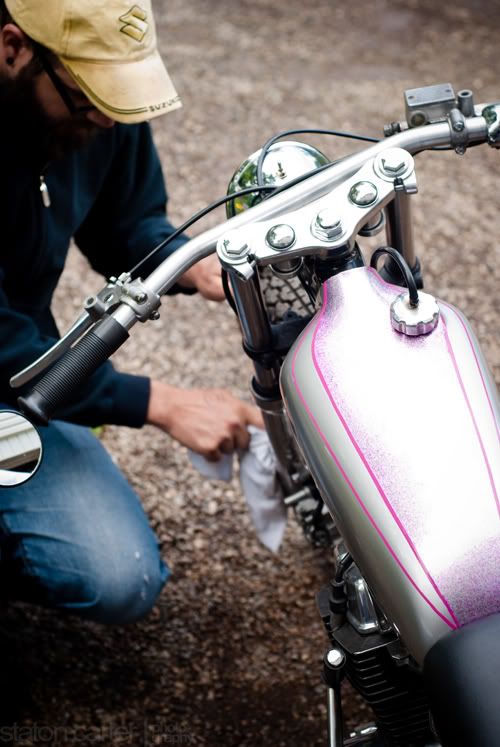
I decided to cut down the bike, and do the needed repairs to the engine. I wanted to create a bike uniquely Courtney's, something she could be proud of. So the entire top of the frame was removed, the neck was straightened, the engine repaired, and we started a super budget build for her.
The swingarm was shortened, a 16" hoop was laced to the stock hub, fatter tires were installed, I built some low down and out front handlebars for it, a 2-1 Stainless Exhaust was fabricated with a Supertrapp Muffler, rearset controls were made, all new seat section was bent up, a fiberglass seat pan was molded and covered, forks were shaved, lowered and polished, the electric start was removed and a "Kick Start" was fabbed up, and finally topped off with an Elsinore tank. I also repaired all the engine cracks, ported the head, and tweaked the carburator a little bit.
Oh yeah, Courtney installed the clutch that started this whole mess... And then it was ready to ride, test, and then tear down for paint...
We did a few test rides on it, had some small things to work out, but it was ready to roll...
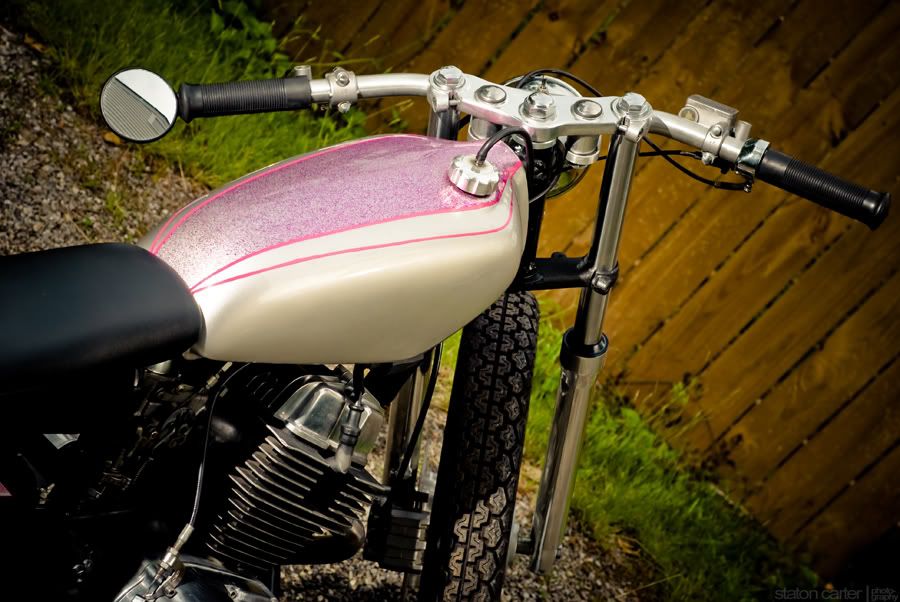
So we tore it down, painted and polished alot of parts, and it was ready to reassemble. The tank was painted locally, and he had some "Freakin Fushia" flake he wanted to use, it seemed appropriate.
All assembled, and she is now in love with her bike all over again... Amazing what a fresh coat of paint and a new clutch can do for an ol' beat down bike huh?
All of these great photos were taken by my friend Staton Carter who has taken all the great photos you guys see.
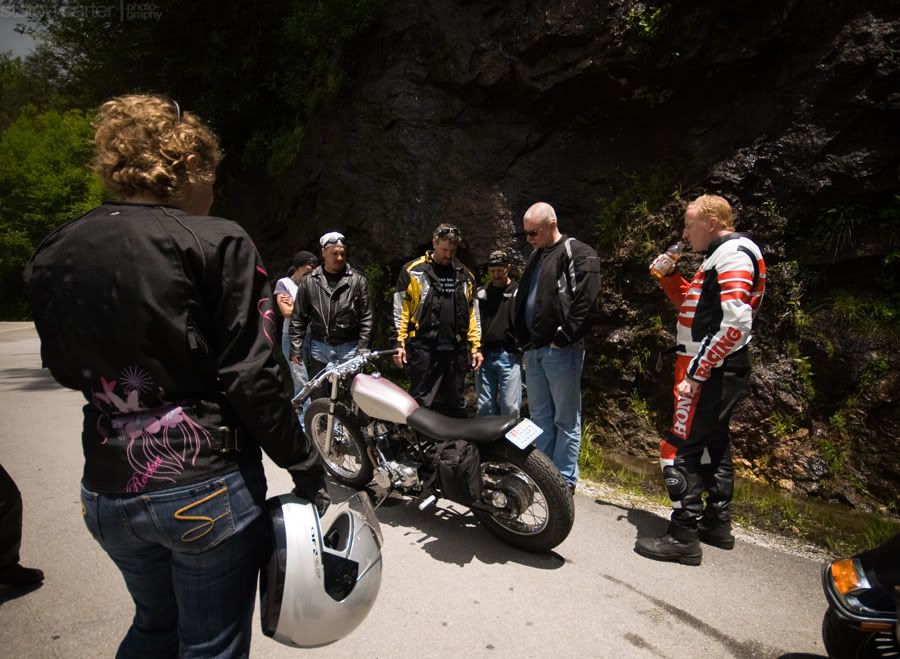
"What the hell is that" - A very common question surprisingly.
Proud again, isn't she cute!
Speed Tested (will run over 100 mph, awesome!) and Wife Approved.....


