Checkout the online shop for new parts and service for you ride!

Click Here www.hughshandbuilt.com for more info on parts! Thanks - Hughs.

Thursday, September 29, 2011

Kreidler!!

Moving into the new shop, also brought a great shop mate into the mix here at Hugh's HandBuilt.  I have been very excited to share shop space with Briton Bees - who designs and builds some of the most famous and highly sought after mopeds in the US. 

It has been an interesting few weeks getting settled in, and getting in the groove with 2 shops operating full time in our new location.   A few growing pains to be expected, but the best part is that I am getting exposed to a whole new world of 2 wheeled madness. 

This is the kind of madness you can expect to find in "The Hive" - which we are calling our collective shop...  These are some of the bikes that Briton Bees kicks out.  Very cool, VERY FAST, mopeds and 50-90CC Race Machines...  


As most of you know, I have a serious need to make things fast, even if that was never in the plans for that particular machine.  Whether its a Honda Rebel 250 that I built for my wife that runs 105+ MPH or the Rephased XS650 Engines I have become so well known for, I like speed. 

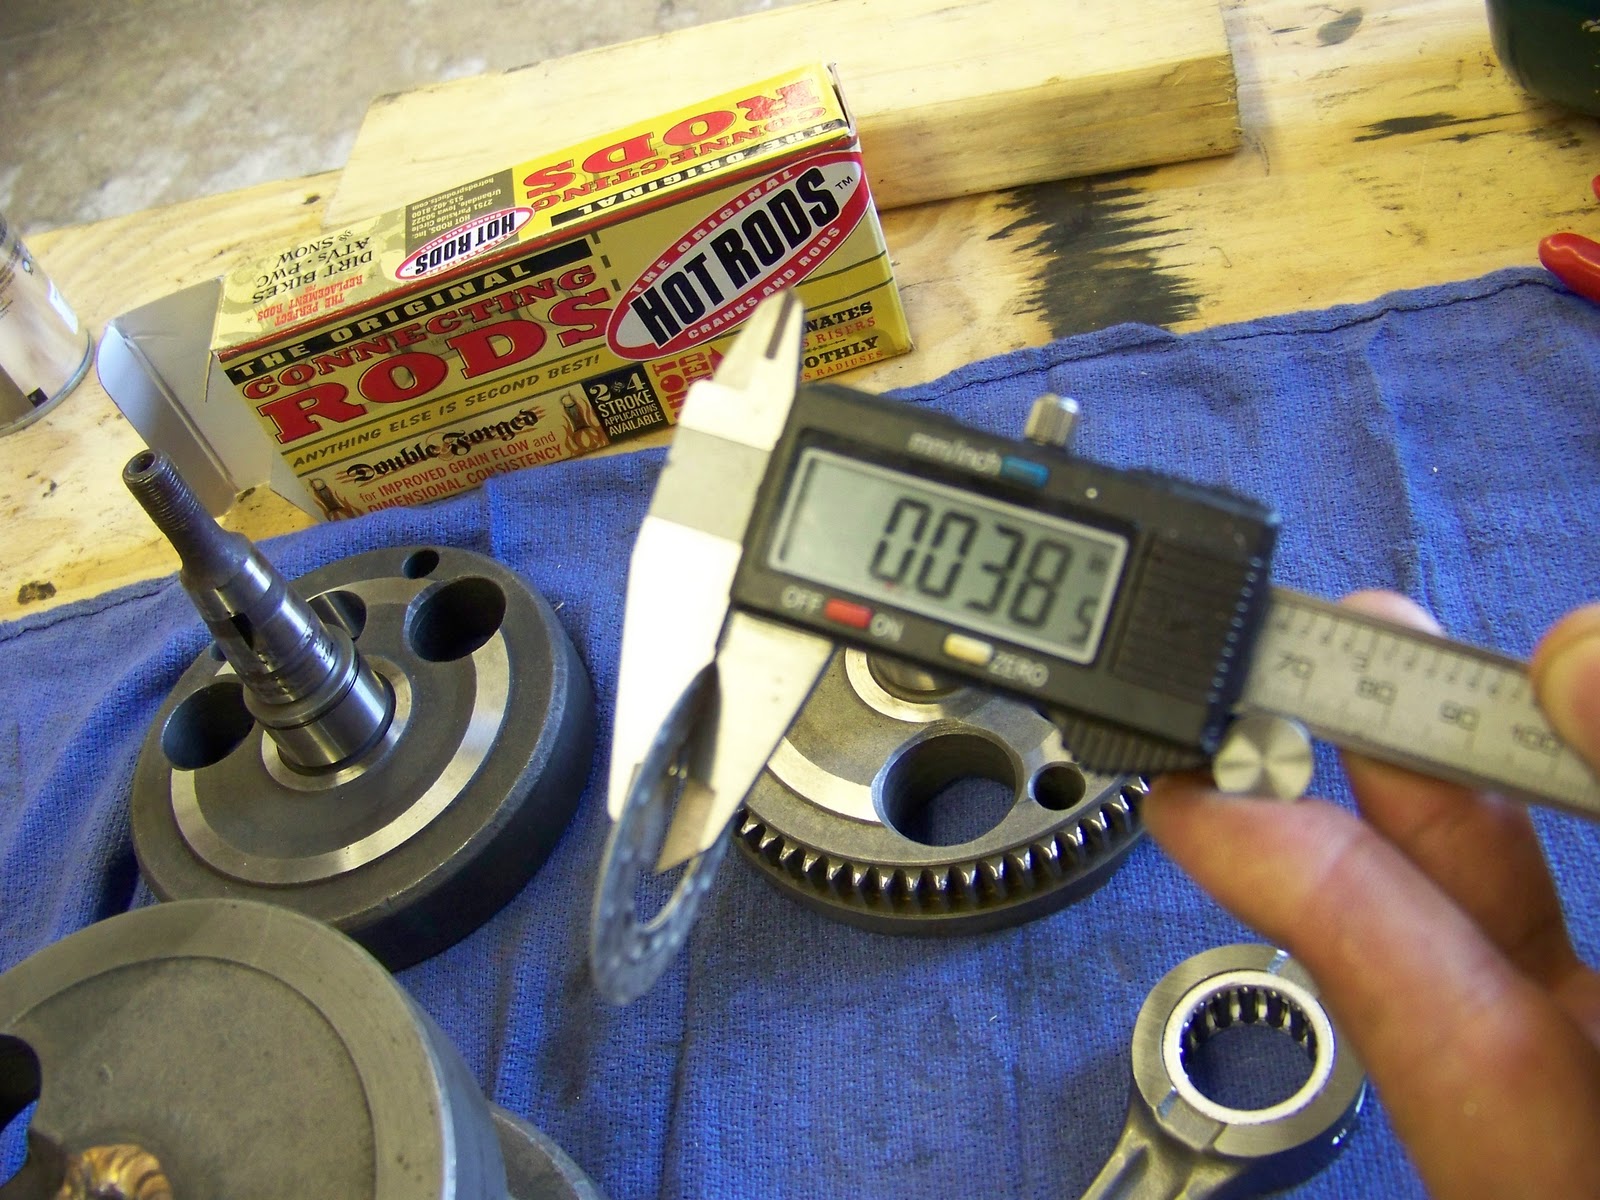
My shop mate has introduced me to a whole new world of awesome, and it comes in 2 stroke form.  I've been drooling over some really kickass mopeds in the past month or so, and today I was given the holy grail of 2 Stroke Racing Engine bottom ends! 

What you see here is a highly sought after 5 gang (thats 5 speed for us here in the states) 1969 Kreidler Bottom End.  We're talking 16,000 RPM here!  I'm super stoked, and this is a very cool thing to get a chance to build...   Once in a lifetime really, as I'm told that it took nearly 3 years to find this bottom end. 


This is Briton's personal Kreidler Race Bike,6 Gang, H2O, with rotary valve inlet, dry clutch, total loss electrics, Lectron Carburetor and full tube chassis.  (The body work is of at Dill's Paintworks right now)


I'm about to get my mind blown on porting techniques, pipe theory, etc...  I have ALOT to learn, and I'm excited to be learning from the master of small 2 Stroke Theory here in the states. 

Oh, and in case you are wondering what these engines are capable of, have a look here:


Well, I'm off to getting some more work done in the shop, I was just too excited not to share! 

Hugh

Monday, September 26, 2011

Girder Goodness!!

Finally been making a little bit of progress on my latest personal project.  This is just a mockup for now, but the dimensions are all spot on! 

The trees are machinined and tapered aluminum, and the links are all 304 Stainless with Bronze Bushings. 

The sides will be much more complex than you see here, but for now, this should be enough of a tease... 

Friday, September 23, 2011

Long Rod XS650 Crank - We can do that!!

I've been wanting to build one of these for a good long while.  I have a customer in the UK who has contacted me to build him a Long Rod XS650 Crank. 

Here you can see the difference between a standard 447 Rod from MikesXS, and a CR500 Rod from Hot Rods - much longer, and much better quality. 


A better view of the rods for comparison....  CR500 Hot Rod on top, Stock HP replacement on bottom:


The Rod Pins that come with the 2 rods are a bit different as well.  The 447 Rod Pin being shorter than the CR500 Rod Pin...  I've machined the CR500 rod pin down to the proper length..


The CR500 Rod Pin is also hollow, which is a nice weight saving feature seeing as how the CR500 rods are slightly different in weight than the HP 447 Rods. 


The small end of the CR500 Rod is much larger, and supports a roller bearing (which I think is a huge upgrade compared the stock setup).  To utilize this bearing, the pistons will likely need to be modified a bit to fit the bearing width.  Most folks are making bronze bushings to size, but I think I would keep the roller myself..


So I start with a very clean and degreased crank that has been fully disassembled.


I press in the Rod Pins, check them for square and fit, and then full TIG weld them into the flywheel.


Fit up the shims and bearings...


Align the camchain sprocket and press the 2 halves together in the proper location (This crank is also being rephased, keep that in mind)


I ALWAYS weld a crank that is being used in a performance application.  I see more crank failures from cranks walking apart than you could imagine.  If you have problems with your charging systems and/or you are getting lots of aluminum shavings in your oil, then this is likely your problem...   I see failures in stock engines just as often as in Big Bore engines, so do it once, and do it right... 

This crank is welded in the center, notice I didn't weld right at the bearing surface for the rod thrust washer.  Keeping the crank together is one thing, but you gotta keep those rods happy as well. 


The CR500 Rods share the same width in the small end as the XS650 Rods.  But, the XS650 Thrust Washers are narrower than the CR500 Thrust Washers, so I will be installing the XS650 Thrust Washers just as they were in the stock configuration.  Keeping the crank operating in the cases as close to stock is important, and even something as small as .022" could get things really out of wack!

Stock XS650 Thrust Washer:

CR500 Thrust Washer:

If you kept the CR500 Thrust Washers, you crank would be almost .100" wider than stock, I don't think that would do your cases any favors... 

Install the rods:


Get those outer flywheels on, true em' up and weld the pins...  Sounds easy right? 


Well there you have it, a really great looking setup for a long rod conversion.   If you are thinking of doing this modification, know that you'll be modifying other parts of the engine to take advantage of this setup.  Piston heights will have to be modified, clearances checked, etc... 

Hugh

Monday, September 19, 2011

Cafe' Hub

Modifying an ugly stock XS650 Hub for Tevan's Cafe' Project...  Hitting the milling machine next for some speed holes!!!

Friday, September 16, 2011

Tevan's Vintage Resto-Mod Cafe' Project

So we are finally getting a few things in line here at the shop.  More updates on that later.  But, for the time being, I want to introduce you to a very bright young man that has become a very integral part of Hugh's HandBuilt in the last few months. 

Tevan started working with me several months ago when I was still in my home basement.  He quickly began showing lots of promise and interest in what he does, so he has been promoted from Shop Rat to Production Engineer.  He runs the lathe, milling machine, cleans parts, keeps track of inventory, and is a great help to have around.  So meet the new help - and make him feel welcome! 


A few months back, we found Tevan his very own XS project to work on, a well worn and beat down 71' XS2.  He immediately started tearing into it of course, and tossing out the parts we didn't plan to use. 


We started building the engine, keeping the stock cases, and rephasing it.  Since this is a fairly rare bike, we wanted the numbers to match.  We are keeping the 256 Crank and Cam, rephased to 277 degrees and giving it a light hone and some new rings.  It will also be getting a decent porting job, some 34mm Lectron Carbs to top it off.  Should be a pretty sweet engine for Tevan's first bike. 


Then we started in on the chassis.  I knew we wanted to ditch that stock 34mm front end, with its hokey brake setup and all.  So I dug through the pile, found some 35mm complete forks, and started mocking them up.  We knew we wanted to keep some of the original soul to this machine, so keeping the stock steering damper was a must.  We machined the stem out of the stock 34mm trees, and with some fancy machinework managed to get the damper working and installed.


So we got it all mocked up, and then Tevan did some sweet talking with Briton Bees and scored some killer Motocicli Veloci WM2 Aluminum Drop Center Rims.  18's front and rear, with some super sticky tires...  Should be a blast... 


We are planning to do some major machining and lightening of the hubs, using a late style front hub/brake combo, and lacing them up using Buchanan's spokes.  The frame will get some minor alterations, and a few other sweet little touches.  Stay Tuned Folks!!

Checkout the online shop for new parts and service for you ride!

Click Here www.hughshandbuilt.com for more info on parts! Thanks - Hughs.